I have an old, smaller, three-drawer dresser in my bathroom. It dates back to the 2000s when painted furniture with dabbles of colored wax was an in-thing. Somehow, a white ring appeared on the top of the dresser. It wouldn’t go off, and I got a little too aggressive and took the paint and wax off. I also had some round water stains from placing jars on the top with wet bottoms, so I repaired the dresser top.
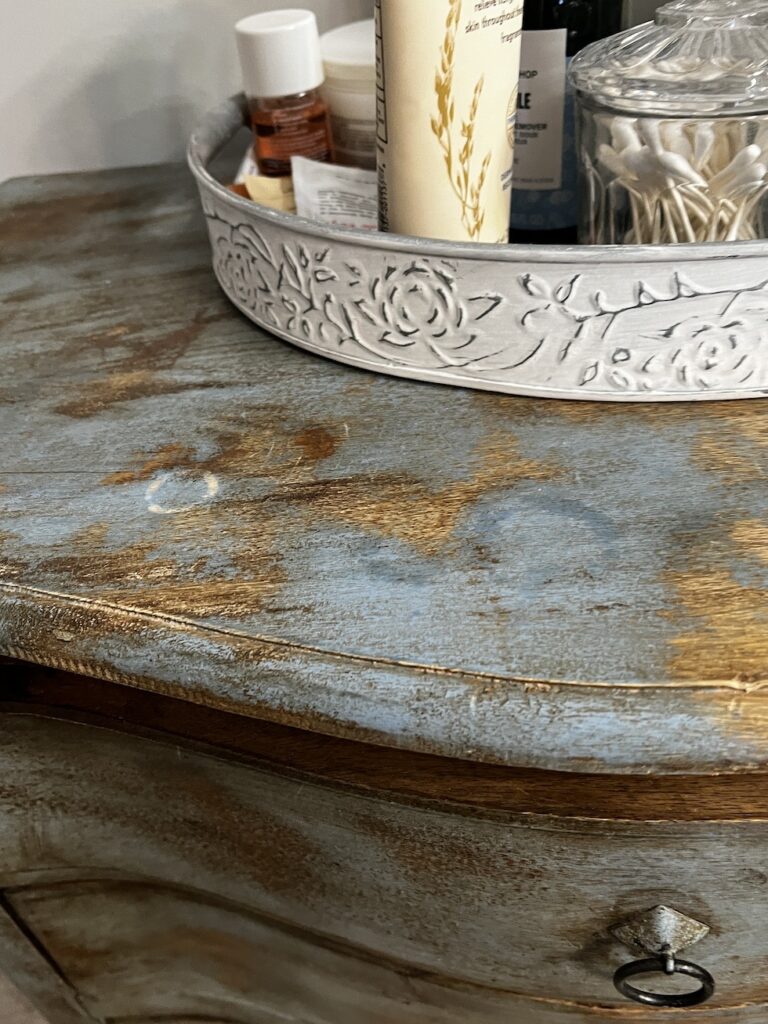
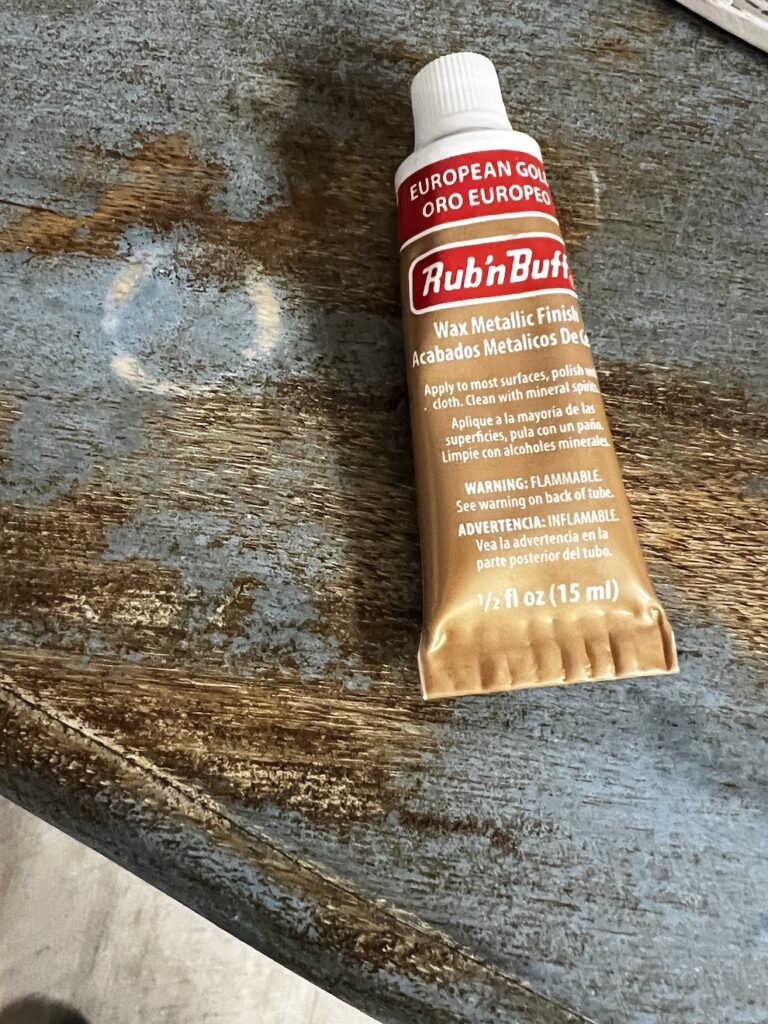
The light blue paint was dabbled with old-world gold and brown wax. I used my trusty Rub’nBuff in European Gold to cover the white circle. I used rubber gloves during this process. The gold will washed off, but it takes bit of work. I placed a dollop on my finger, streaked it across the stain, and then applied it to a few random areas across the width of the top to ensure a cohesive look.
I allowed the gold wax to dry before I applied the brown wax. Don’t let the gold dry if you want to blend waxes for a softer effect. When I started, Ann Sloan, Miss Mustard Seed, and other crafters had a version of their colored waxes for milk paint finish. Brown, black, dark brown, and white were the colors available at the time. However, dark waxes, such as BriWax and Minwax finishing waxes, were also made for dark furniture. You can use any antique wax for this. I have a few on hand.
Again, I used gloves and applied dollops randomly across the dresser top’s front. This time, I used a cotton face pad to blend the brown into the top at various locations and depths of color, attempting to match the technique used on the remainder of the top. It took a few attempts to get the look I wanted, but I stopped when I felt it matched closely. I can overthink a project and ruin it if I am not careful. Again, I waited for it to dry. A few hours later, I found it still a bit tacky. Suppose I wanted to blend it out more. I would have used a cloth to spread it around a bit. But I was happy with it and decided to wait until morning. It was completely dry the next day, and I tried rubbing git out a bit. Sometimes, you can buff it and get a bit of a shine, but it is too dry to buff it.
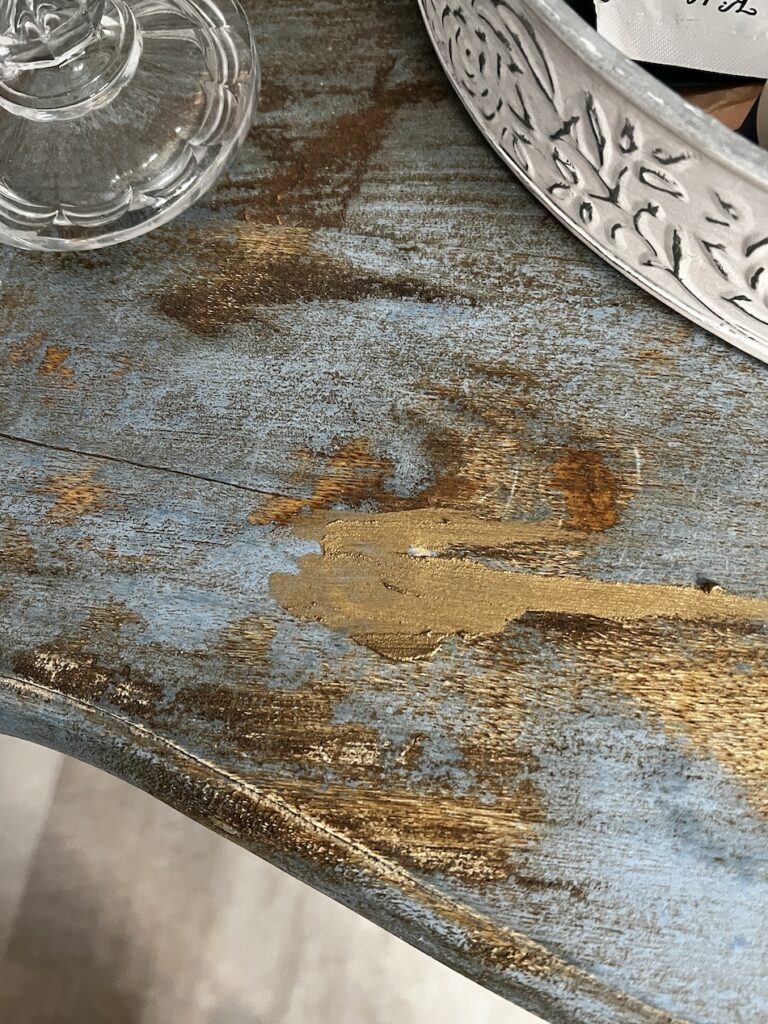
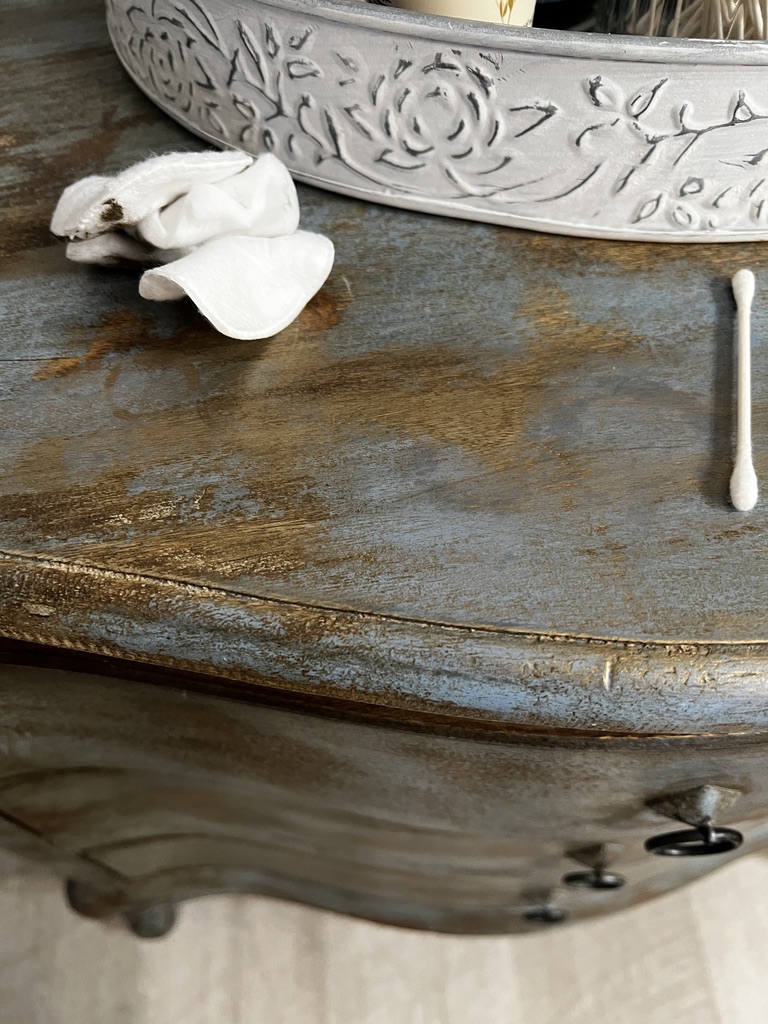
As you can see, I used the brown wax over the gold to bleach the gold out. I also used the brown wax alone at different places to match the top.
Now that it was dry, I applied a beeswax and furniture wax blend across the top. This dresser sits in my bathroom and is exposed to dampness from the shower, and I wanted a more protective finish. I allowed the wax to sit for a half hour and then buffed it with a clean, dry cloth. While it may seem dry, I will not put anything on the top for a few days. It will take days, weeks, or months for some waxes to cure.
When we used to create furniture and paint it, we always made sure to allow enough time for the pieces to properly cure before selling them. There is a significant difference between a dry finish and a cured finish, especially when using wax.
Cure time is needed for the finishing product to settle, set up, and reach its most durable state. It’s completely different from dry time. Dry time is how long the product feels dry to the touch. Depending on your product and the temperature/humidity, this can take anywhere from 30 minutes to 4 hours. Cure time is much longer, typically 20-30 days or 3-4 weeks.
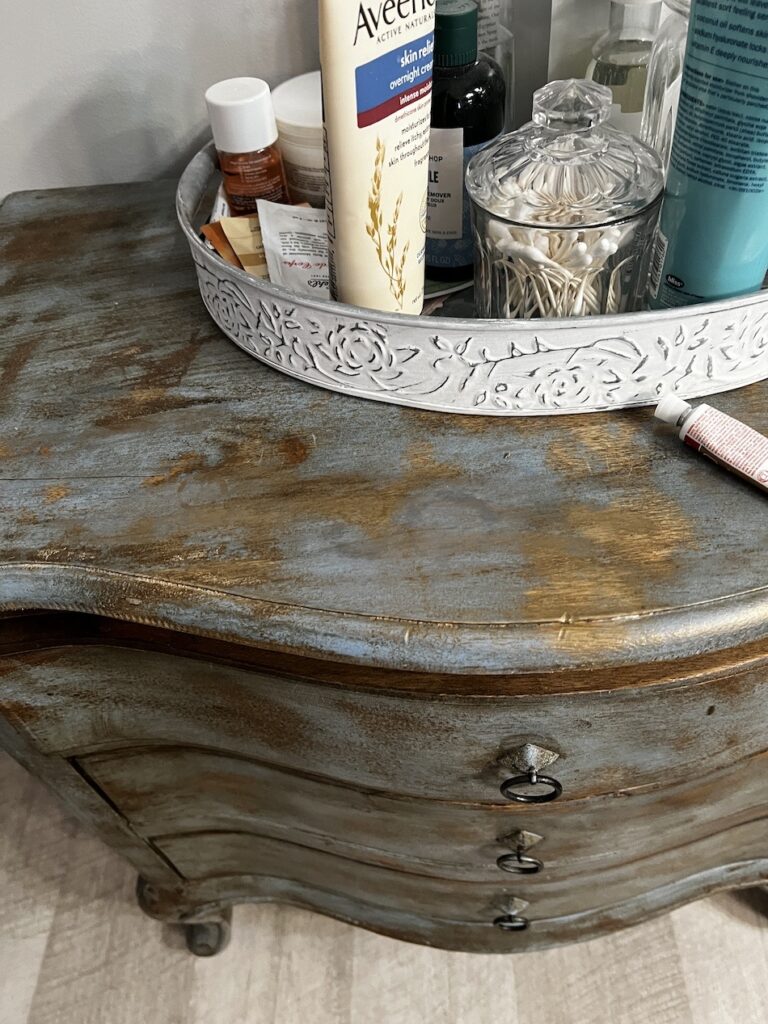
And here is the finished project. I allowed it to sit without the tray for three weeks. I am pleased with how it turned out. I hope this gives yu some pointers and courage on going ahead and working on a similar project at your home