Initial Work Plan
The Good
We decided to remodel our guest bathroom. It is a small room measuring ten by five feet. It was original to the condo and needed a refresh.
We remodeled the ensuite bathroom a couple of years ago after repainting the entire upper level and upgrading the kitchen and sitting rooms. I’ll post a new update on that remodel soon.
The original colors were a warm creamy beige, and I changed the upper floor to a cool blue-gray. I had already upgraded the kitchen and sitting rooms to that cool gray with blue and green accents.
After living with the new cool palette and liking it, I wanted to upgrade the guest bath to the same color tones. I know warm colors are coming back into fashion, but I like my basic cool color palette of blue, white, and green.
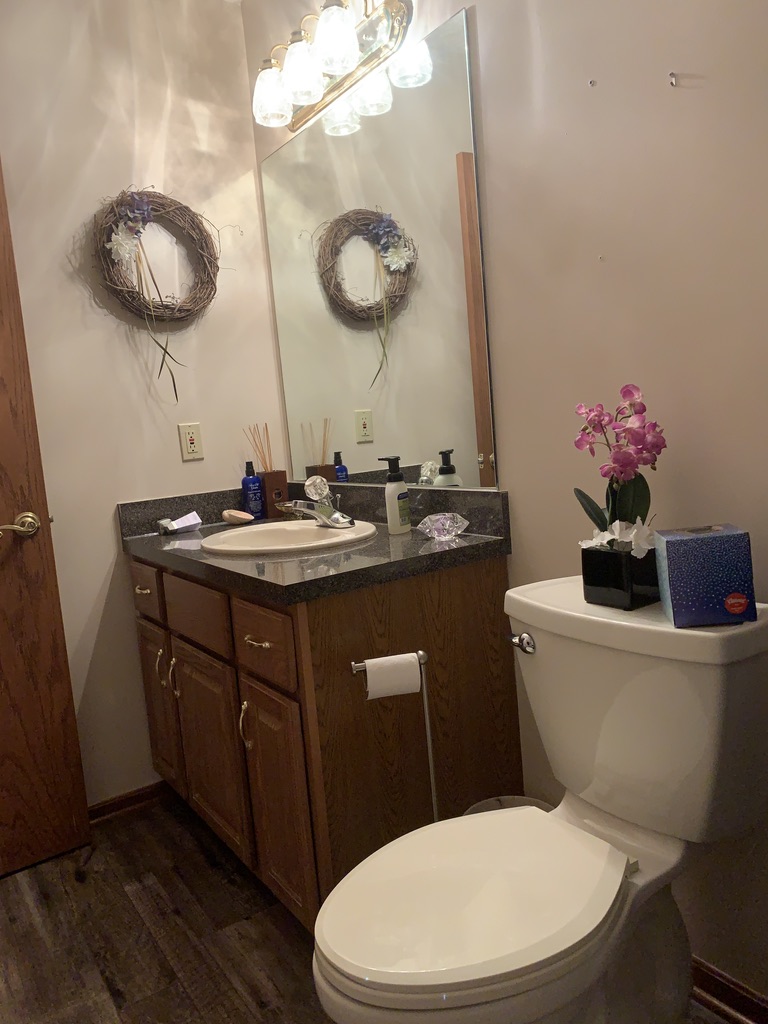
Originally all bath features were almond; the tub/shower combo was a jet tub, and the surround was all done in 3 x 3 square creamy beige tiles. The floor was creamy beige cushioned vinyl in a large square tile pattern—builder-grade standards.
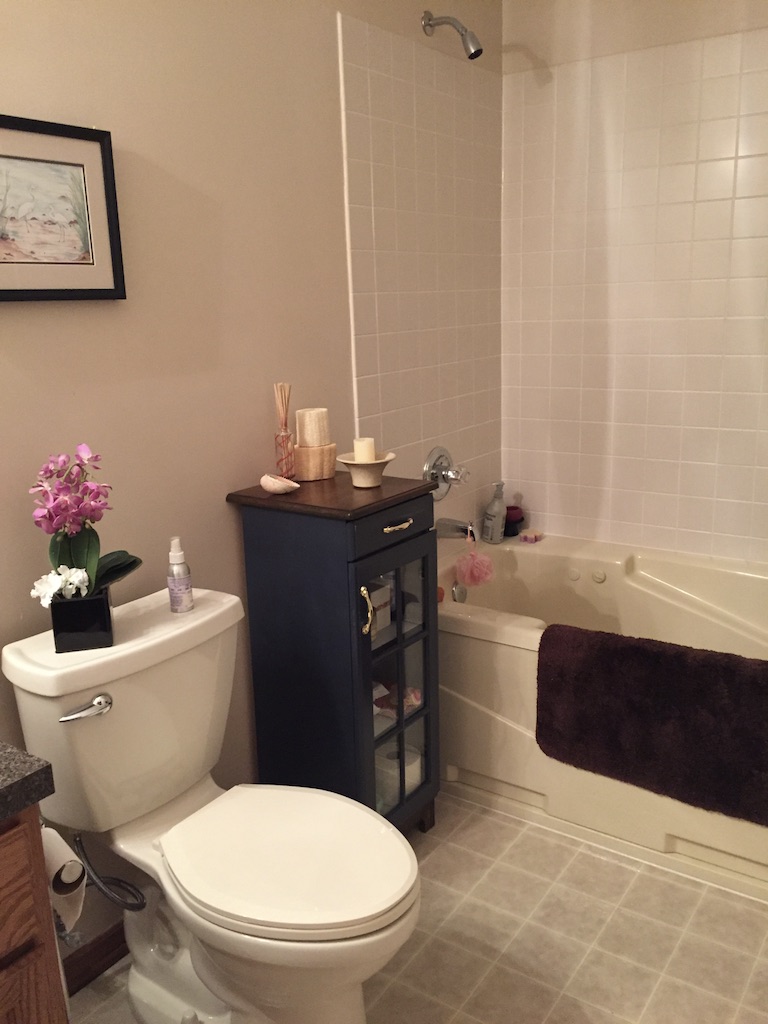
I absolutely detested that jet tub. I am not a bath person. More of a shower person. But I do like a nice soak once in a while. The tub’s jet tubes are open as it sits there, and a couple of times, I found spiders floating in the water while I soaked. The only way to keep the open jets free of critters was to use the jet tube weekly. So my first design change was to change out the jet tub shower combo for a simple white tub.
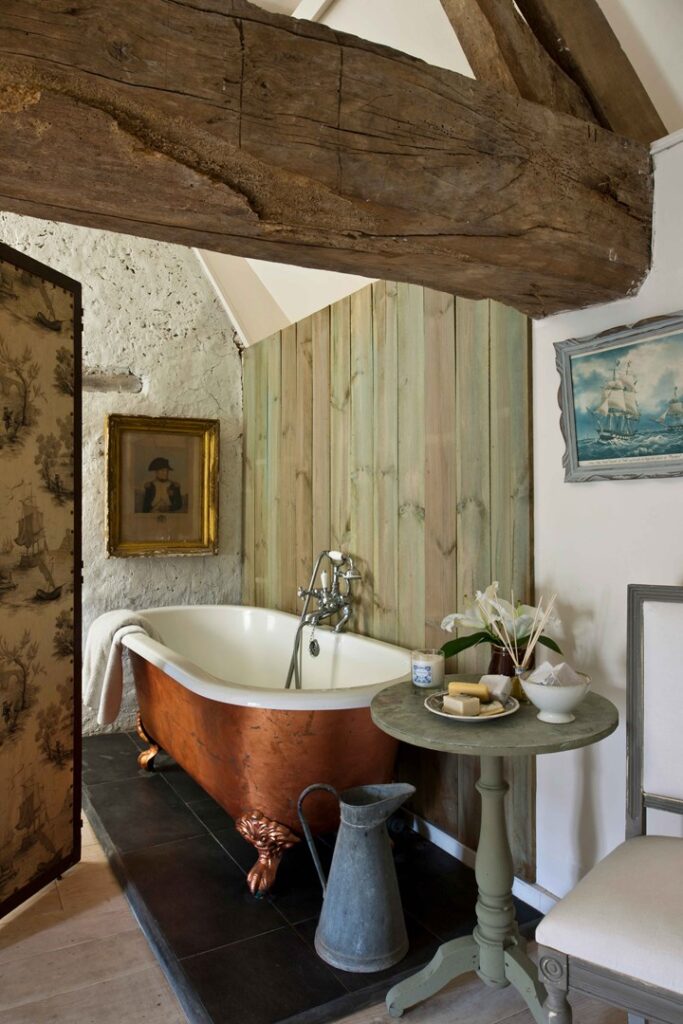
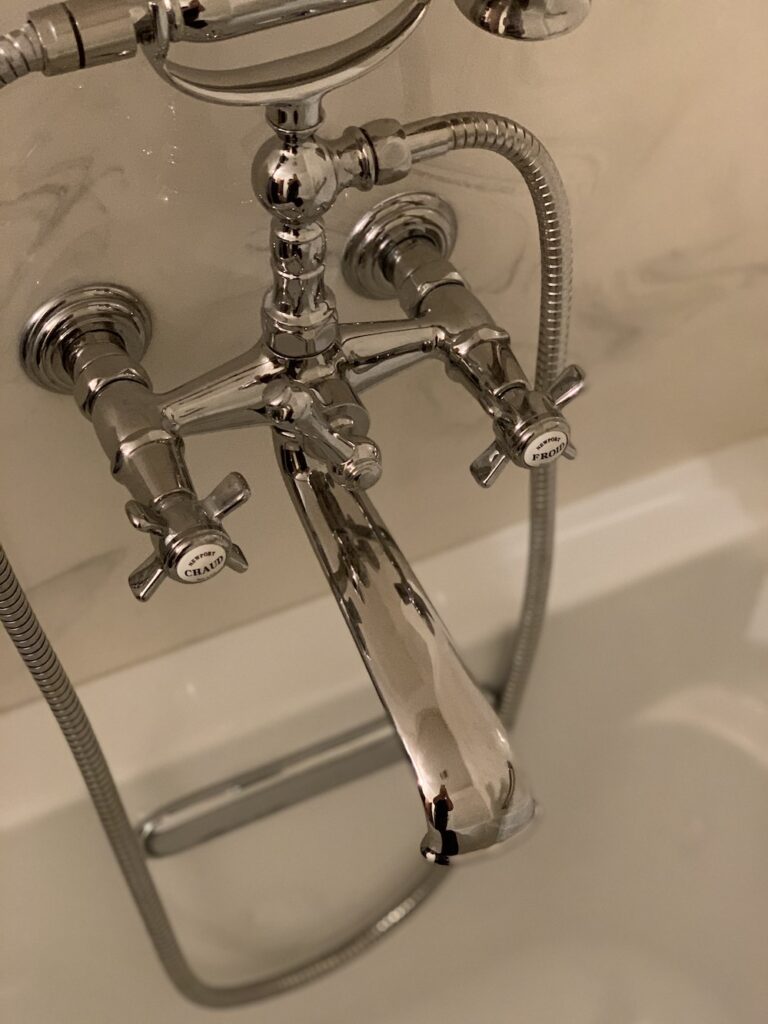
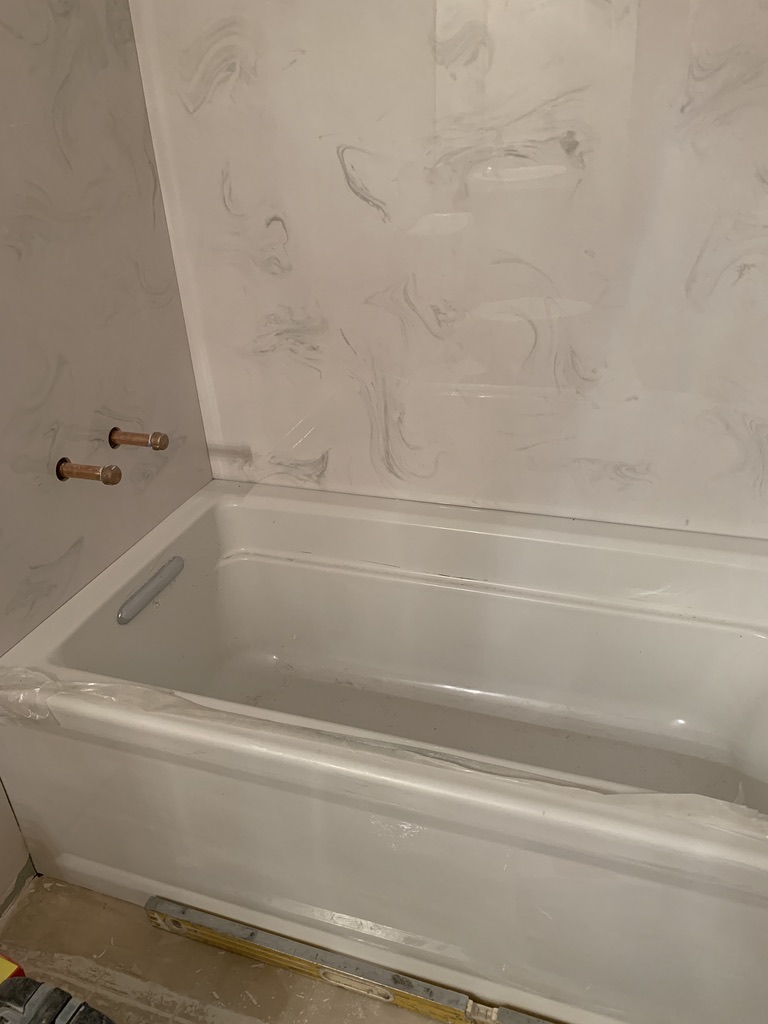
My decor style leans toward New England /old-world/Victorian decor. So I tried to find a claw tube, but the 5 feet width of the room would not accommodate a claw tub. However, the contractor did have a tub that just fit. I could attach the fancy faucet fixture from the claw tube to this tub, making it more like the Victorian look I wanted to achieve.
I planned to change the almond fixtures to white so the new tube is white. I’ll replace the toilet and sink shortly. The contractor removed the surrounding tiles and installed white cultured marble sheeting in the surround area.
Finally, we installed new flooring. The main living area is floored in solid oak wood planking. I did not want solid wood in the wet bathrooms or ceramic tile as it was slippery. I am waiting for a hip replacement, and the surgeon told me the worse thing I could ever do was fall, so the hard wet tile concept is out.
While natural wood is damaged by water, the new vinyl woods are made for wet areas such as baths and kitchens. I could not find a solid color to match the oak plans in the hall, but we did find a wood look that was very dark with intermittent boards of that same oak color mixed in.
The Bad
I was the job manager for this small project. After the contractors completed their work, I found a few serious errors I made as a manager.
Problem One
Months later, I went into the bathroom to paint the walls the blue-gray used in the main living room and hall. I added some light to see better and found that the wall surround was ivory white, not the bright white I used in the other bath remodel. I do not know who made the error here. The same contractor did both remodels, and I am sure I told him I wanted the same white marble surround.
Nevertheless, it looked all wrong, and because the contractor installed it before I noticed, I am stuck with the ivory. I can see the difference as it sits against the white soak tub, and it bothered me every time I walked into the bath.
Solution
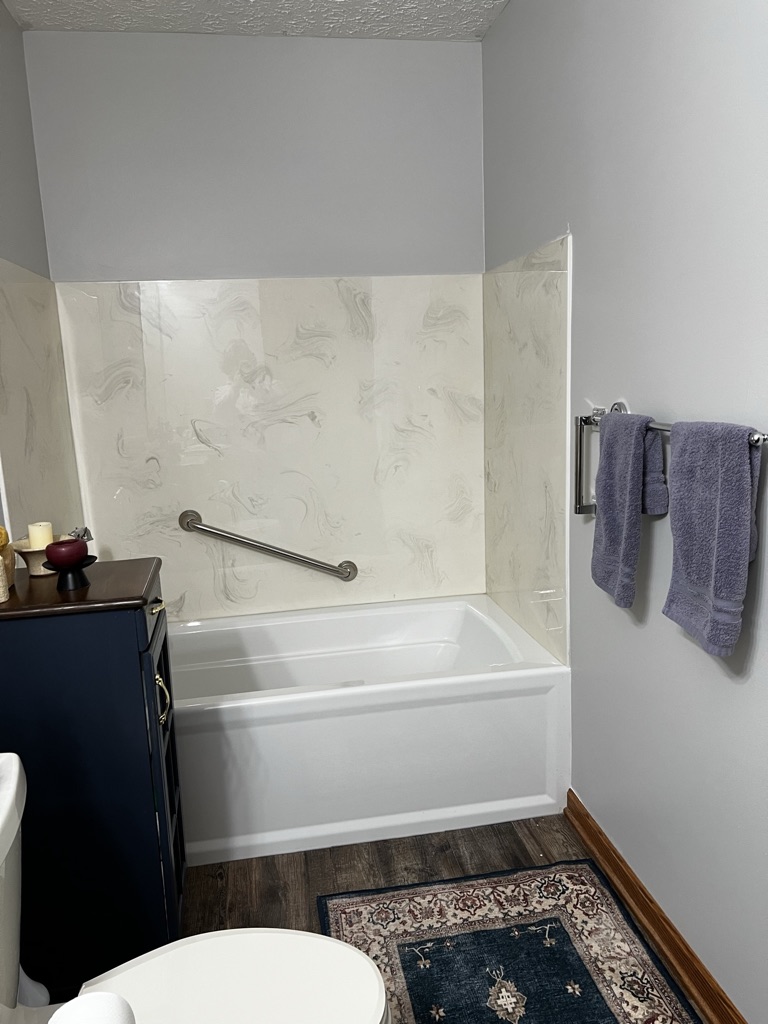
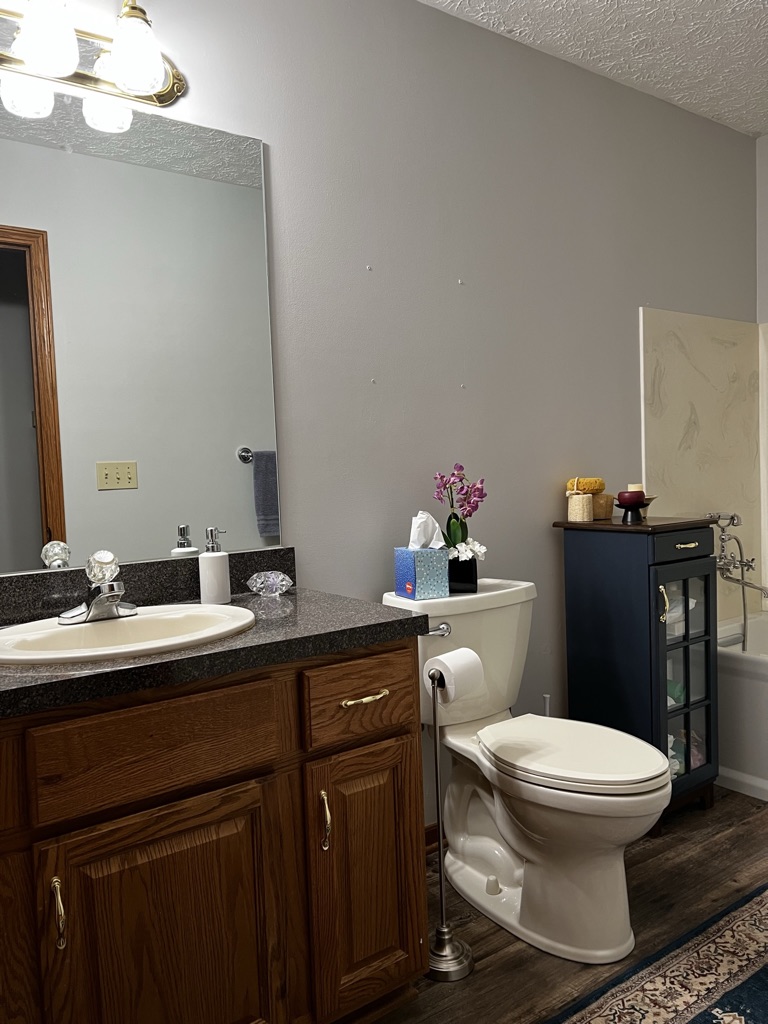
First of all, I painted the walls blue-gray – Avalanche by Sherwin Williams. The switch to the cool-toned paint did an excellent job toning down the creamy surround look. Next, I switched out the lighting. I originally had a warm bulb in the lights, but I changed them to a cool LED, which made a dramatic difference. Who knew that light color could make such a considerable change?
Problem Two
The floor. Again, I waited until the contractor completed the job, and he used only a small amount of the wood sheets in the box. The bathroom floor area is minimal. He used all the dark wood and left the brown wood sheets in the box, thus removing the blending of the two floors.
Solution.
The only solution I found was to place a rug runner with cool blue tones over top of the dark floor, and it helped. It breaks up your eye as the two floors meet, improving the look.
I must replace the cream toilet and get a new sink and fixture. I will check the two items’ color in bright light before I give the go-ahead to install. I will update you on the completed project..may paint the cabinet. Working on shell artwork from the beach for the walls
I hope you can learn from my mistake of not talking to the contractors and ensure you are both on the same page and share the project vision. And then make sure to check as the work progresses.