Today I would like to share the completion of a project that began last summer. A Romanian friend had gifted me two lace doilies she had made as a young woman in Romania. When you go to that earlier post, you will find that I had made an error in the identification of the lace technique used by my friend. At that time, I thought all the Eastern European laces are called Hungarian lace or Csetneki, a needle lace.
You can go to my original post HERE
After a bit of research on Google, I found out I didn’t give you the correct information. In fact, the doily I was given was not Hungarian Lace, but rather, Romanian Lace. I didn’t know there was a Romanian. lace which uses a combination of crochet lace and needle lace; as does some Hungarian Lace.
Lace is actually a more complicated art than I thought. Just start with Wiki on Google and search for lace and you will get this HERE. You could go on and research each footnote, but I didn’t. However, I did find a source for Romanian lace-making HERE. I found this to be most accurate to the doilies I wanted to frame.
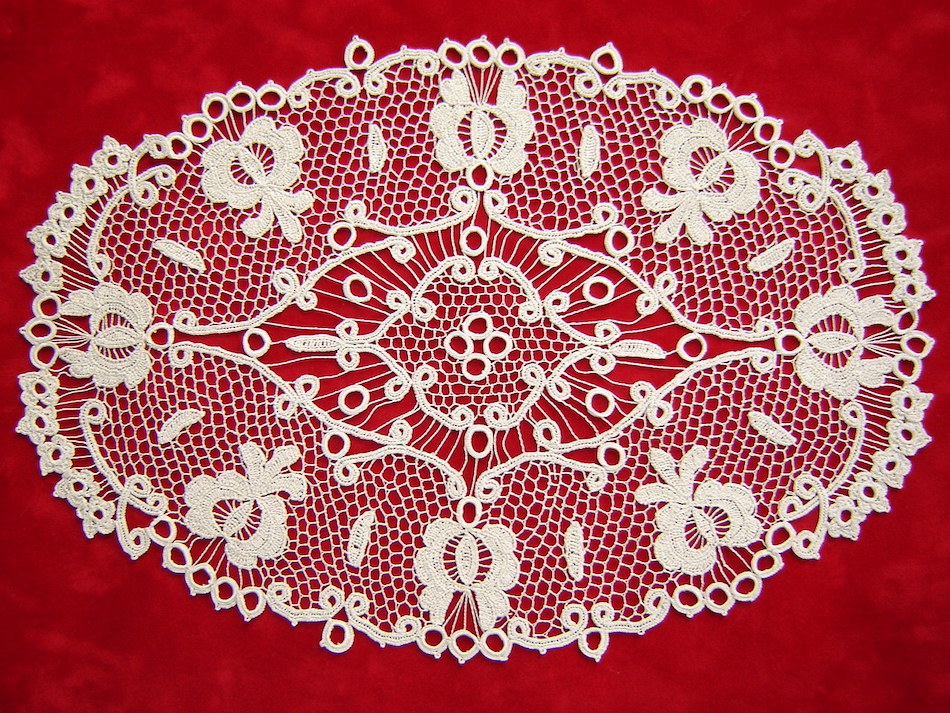
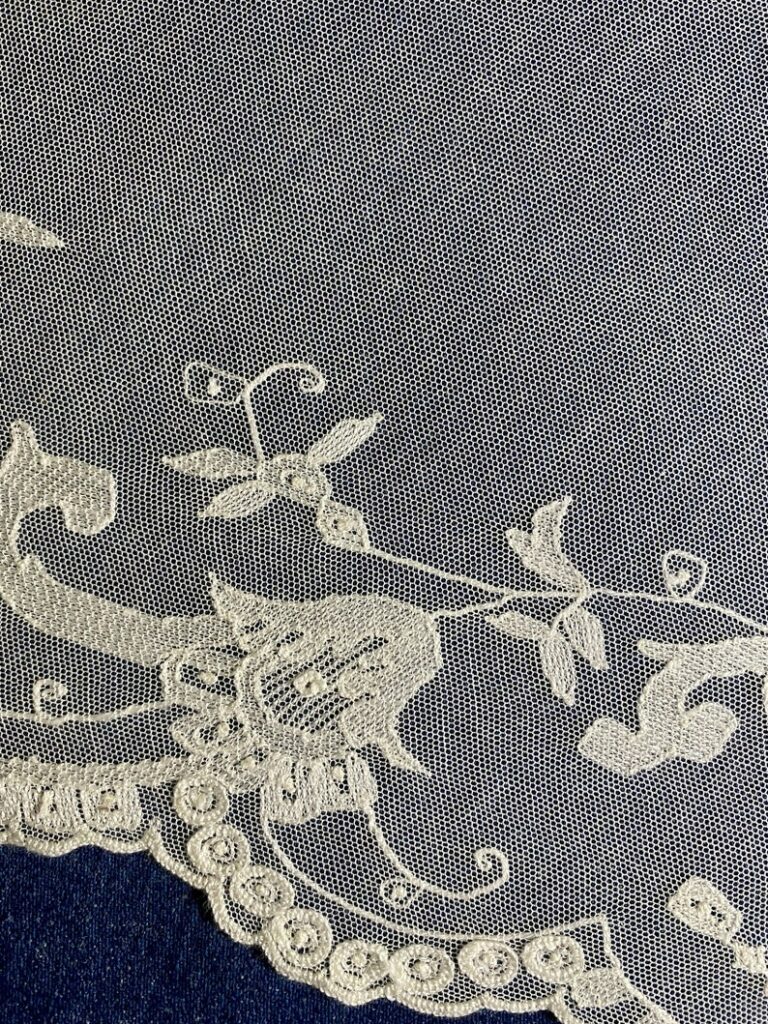
An example of Romanian Point Lace below

I found the history of lace-making engrossing. I was used to seeing Irish lace while living in Ireland. It looks very intricate and each pattern can be identified as to the region from which the pattern developed. Similar to the patterns found in Irish Fisherman sweaters. I found tons of books on Lace the history, and the various types and techniques. As an industry, ii kept many women employed who otherwise might have gone poor and homeless.
I started to get lost in the different patterns and techniques. sorry. I never used a needle much in crafting. I use to make patterns with French Knots in the seventies. It was a copy of early American settler art called Candle Wicking

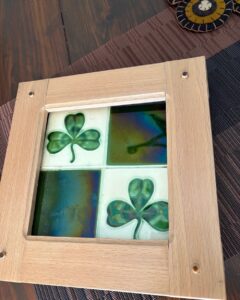
Again so sorry back to the Framing of my Doilies. I obtained a glass frame that was a bit thick because I wanted to mount the lace on foam board. Here. is the frame I used from Amazon
If you look closely you will see that the frame came with its own precut mat board. I wanted a white background to offset the yellow cream in the doily. I chose size 16 x 20 with a mat which allowed an 11 x 14 opening. My two doiies fit perfectly in that alllowence.

I disembled the frame and got my foam board. Next I placed the mat on top of the foamboard and then put the two doilie inside and played around with the positions until I was pleased with the set up. I choice to place them in a single file colume, the smaller on top, and made light pencil marks on the top and side of each.
Next, I took fabric spray and sprayed the back of the doiies and placed them in the marked postions. I then placed cling file over the doilies so the glue would not stick to the weight I placed on top. I weighed them down with a heavy book till the next day.
I did say this was something I started last year. Then I planned on just putting the doillies on the foam board and thought the weight of the frame and glass would hold the in place. I had a reader question that they might fall down. Should I think of tacking them to the foam board.
When I recently went to finish the project, I thought about what she said and decided to use Aleene’s spray fabric glue. I ued this HERE from Amazon.
A couple days I went back and took the book off and placed everything back into the frame. It was a bit of a tight fit. I had to hammer the side tacks in with a small hammer but I have the frame now completed. One problem is the weight of the frame. I had chosen a glass frame and the thing is pretty heavy. I will need to find a stud and a hook for a heavy weight frame. I have not yet picked out a final place to hang this. I really love how it looks and perhaps the guest room is not the place.
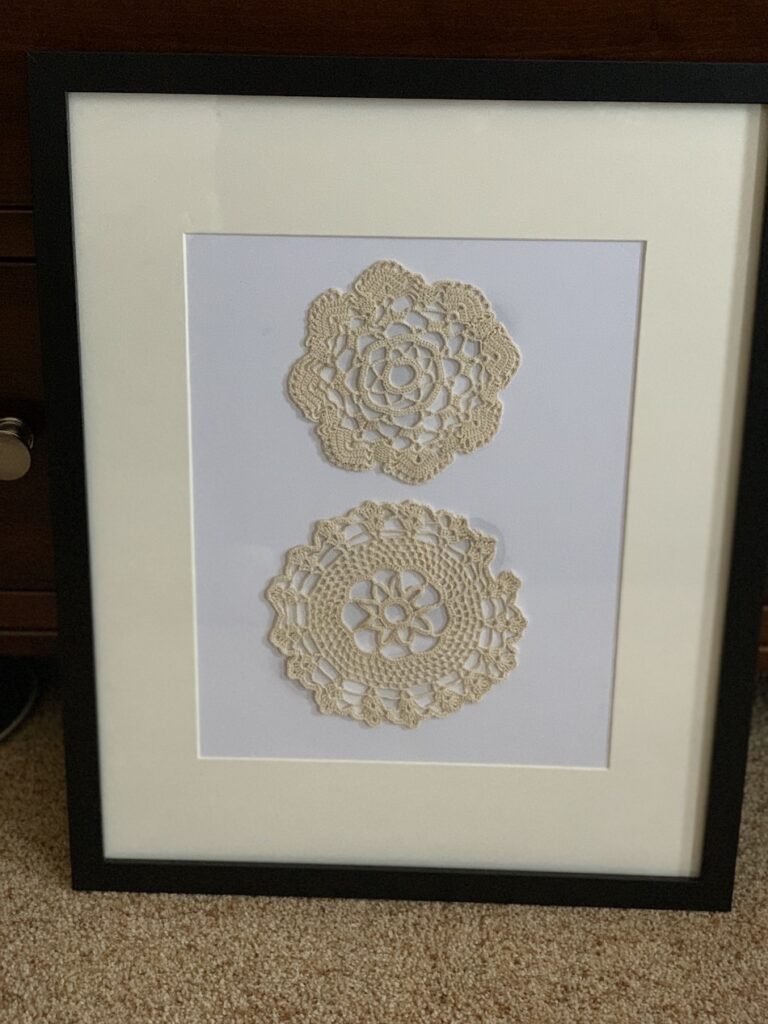
How do you like it? I plan to frame a baby christening dress next. That I will pin to the foam board. There is some shadowing on the photo around the doily- not sure what that it but it doesn’t show up live.
Hope you enjoyed…sorry I did not photograph each step. Feel free to send me any questions you have on how I did this.
Meanwhile- take care and will talk soon
Dara